In Cavity Wall Insulation, CWI by Robert Wheeler / 11 January 2024 / 0 comments
Cavity wall insulation is a crucial step towards enhancing the energy efficiency and thermal performance of a building. While many newly constructed buildings incorporate cavity wall insulation, older properties often lack this essential feature, resulting in heat loss, energy wastage, and increased utility bills.
Retro insulating a cavity wall can significantly improve its thermal efficiency and contribute to a more sustainable and comfortable living environment.
In this blog post, we will explore the process of retro insulating a cavity wall, covering everything from understanding the importance of cavity wall insulation to choosing the right materials, installation techniques, potential challenges, and the numerous benefits it offers.
Whether you are a homeowner, contractor, or building professional, this guide aims to provide a comprehensive overview of how to effectively insulate cavity walls and maximize energy efficiency in existing structures.
Understanding Cavity Wall Insulation
What is Cavity Wall Insulation?
Cavity wall insulation is like giving your home a cosy sweater. It involves filling the gap (or cavity) between your exterior walls with insulating material to keep your home warmer and reduce energy loss. It’s like a big, warm hug for your house.
Importance of Retro Insulating Cavity Walls
Retro insulating cavity walls is crucial for older homes that were built without insulation. Without proper insulation, your home can feel chilly in winter, and you might end up spending a fortune on heating bills. Retro insulation helps to improve energy efficiency, making your home more comfortable and saving you some serious cash.
Assessing the Suitability of Your Cavity Wall
Determining if Your Wall has a Cavity
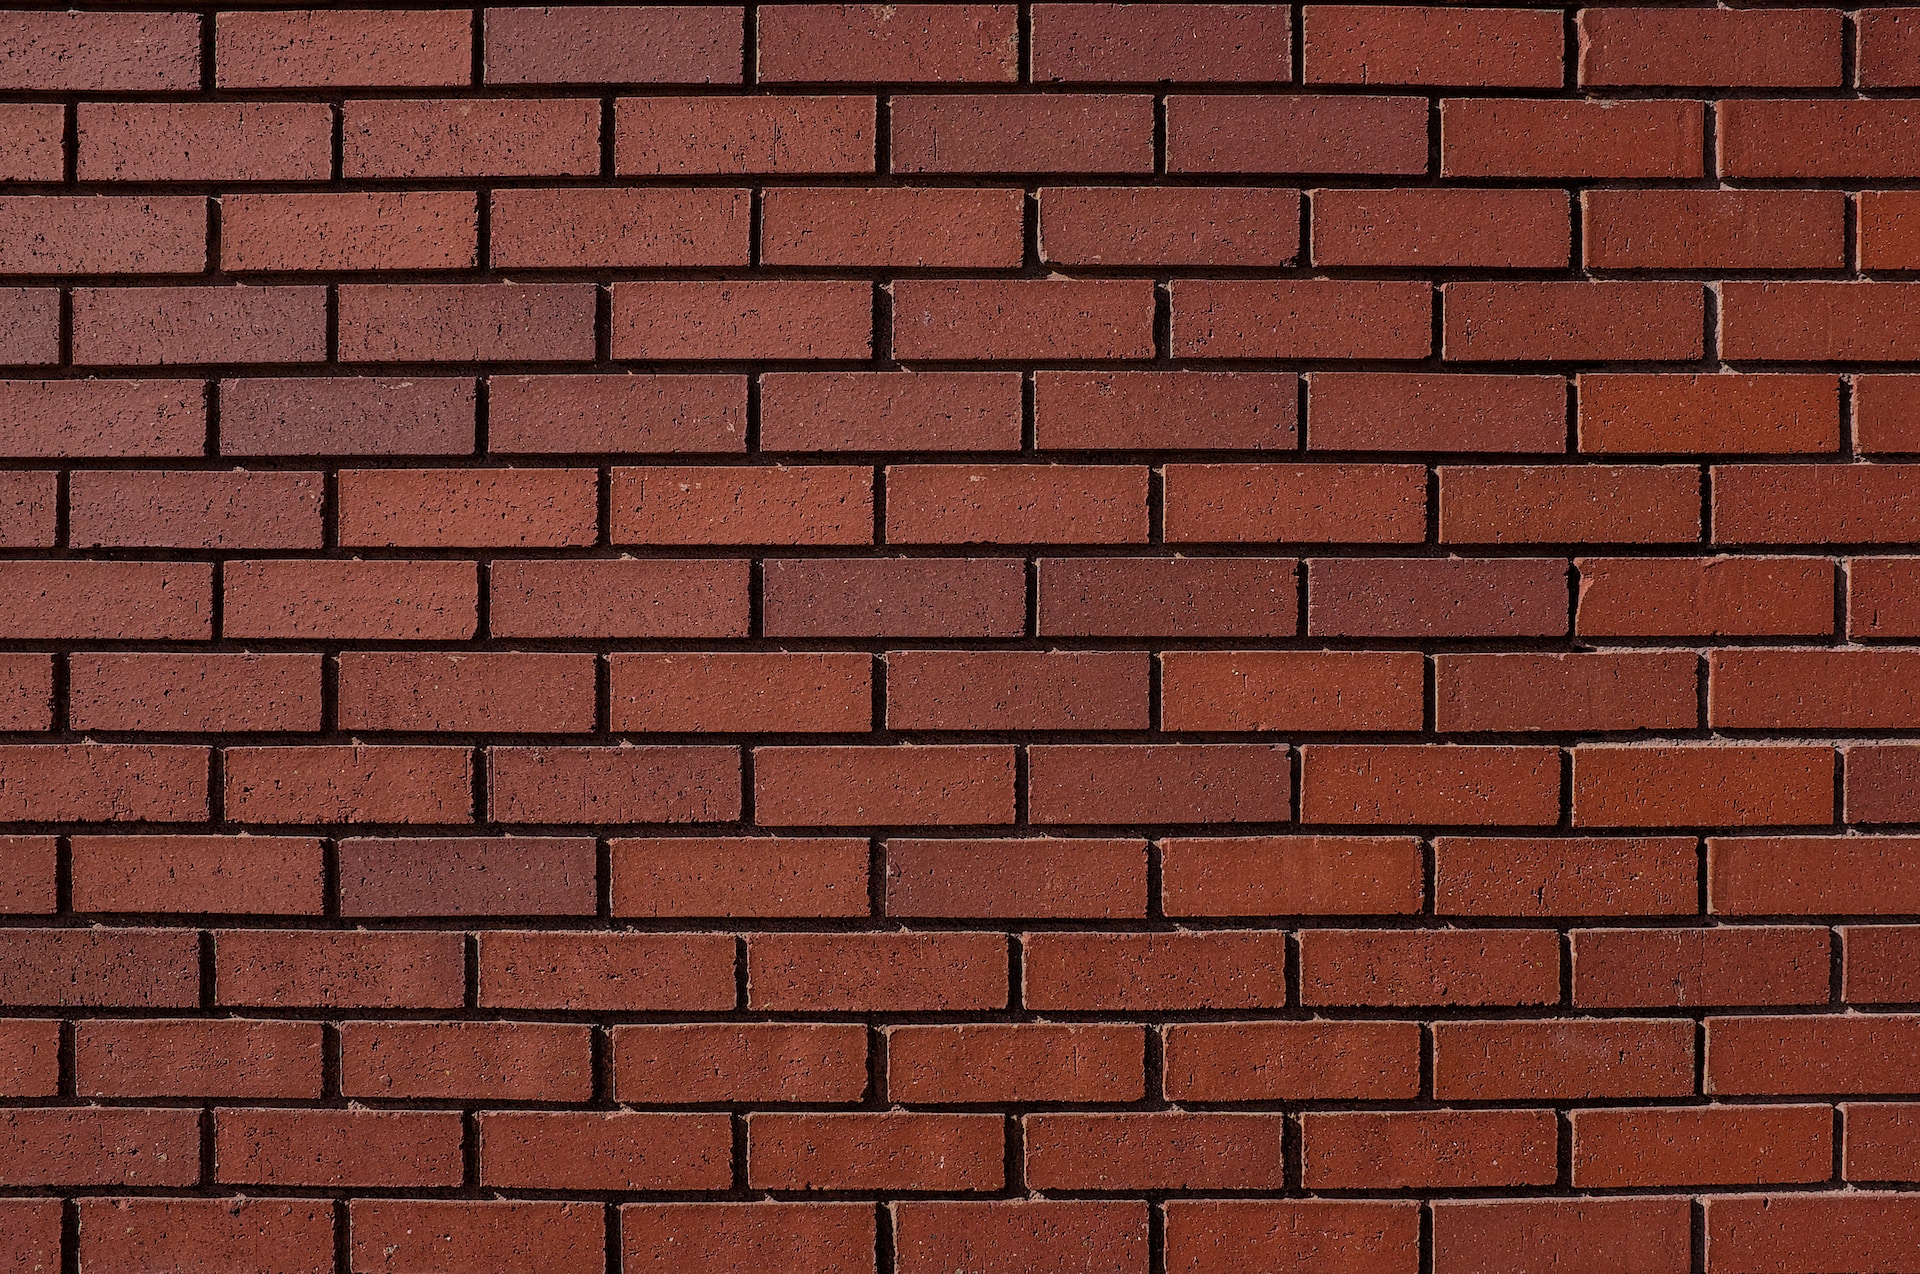
Not all walls have cavities, so before you jump into retro insulating, make sure your walls are cavity walls. If your home was built before the 1920s, it may have solid walls instead. You can check by looking at the brick pattern – if the bricks are laid in a regular, repeating pattern, it’s likely a cavity wall and if you have a full brick and then a half brick pattern it is likely a solid wall with no cavity.
Evaluating the Condition of Your Cavity
Once you confirm you have a cavity wall, it’s important to assess its condition. Look out for any signs of dampness or damage, as these issues should be fixed before insulating. You don’t want to lock moisture inside your walls because that can lead to bigger problems than an unfinished Netflix series.
Identifying Potential Risks or Issues
Before diving into retro insulation, take the time to identify any potential risks or issues. For example, if your home is in an area with a high flood risk, it might not be wise to install cavity wall insulation. It’s always best to address any concerns or seek professional advice to avoid any unexpected surprises.
Preparing for Retro Insulation
Clearing and Cleaning the Cavity
Before the insulation process, you’ll need to clear out any debris or obstructions from the wall cavity. It’s like Marie Kondo-ing your walls – decluttering to make space for the new insulating material. This will ensure the insulation can be installed properly and effectively.
Addressing Any Existing Problems
If you’ve identified any existing issues, such as mould or cracks, it’s crucial to address them before insulating. Think of it like going to the doctor before getting a flu shot. Fixing these problems will prevent them from getting worse and ensure you’re not trapping any unwanted issues behind the insulation.
Ensuring Proper Ventilation
Ventilation is key to keeping your home healthy and mould-free. Before retro insulating, make sure there is sufficient ventilation in your home. This could involve adding or improving vents and airflow to keep things fresh and prevent any moisture build-up. Nobody wants a home that smells like old gym socks.
Choosing the Right Insulation Material
Understanding Different Insulation Options
Now for the fun part – choosing the right insulation material for your cavity walls. There are various options available, from mineral wool to foam insulation. Each material has its own set of benefits and considerations. It’s like picking the perfect outfit for your walls – you want something that looks good and does the job.
Evaluating the Pros and Cons of Each Material
When choosing insulation, think about your priorities. Do you want something eco-friendly, or are you more concerned about performance? Consider factors like cost, fire resistance, and ease of installation. It’s like comparing the features of different smartphones, except this one keeps your home cozy instead of playing Candy Crush.
Considering Environmental Impact and Cost-effectiveness
Finding the right balance between environmental impact and cost-effectiveness is crucial. Some insulation materials may be more environmentally friendly but come with a higher price tag. Others may be cheaper, but their production might have a larger carbon footprint. It’s like trying to decide between a hybrid car and a budget-friendly used car – both have their pros and cons.
Now that you know the ins and outs of retro insulating cavity walls, you’re ready to give your home that much-needed hug and enjoy the benefits of a cosy, energy-efficient living space. Just remember to take into account any unique aspects of your home and seek professional advice if needed. Time to cosy up and enjoy your newly insulated walls!
Installing Cavity Wall Insulation
Preparing and Mixing Insulation Materials
Before you can start retro insulating your cavity walls, you’ll need to gather the necessary materials and get them ready for action. Think of it as preparing for a DIY smoothie-making session, except instead of fruits and yogurt, you’ll be dealing with insulation.
First, make sure you have the correct type of insulation material for your walls. There are various options available, including mineral wool and foam boards. Check with your local supplier or consult an expert to determine the best choice for your situation.
Once you have the insulation in hand, it’s time to mix everything up. Just kidding! You don’t need a blender for this. However, you might need to follow specific instructions provided by the manufacturer to prepare the insulation material correctly.
Techniques for Injecting Insulation into the Cavity
Now that your insulation material is ready, it’s time to get it into those wall cavities. But how do you do that? Well, there are a few different techniques you can use, depending on the specifics of your walls and the insulation material you’re using.
One popular method is called the “drill and fill” technique. No, it’s not a fancy cocktail recipe. It involves drilling small holes into the wall, usually from the outside, and then injecting the insulation material into the cavities using specialized equipment. It’s like giving your walls a little injection of cosiness.
Another technique is called “blow-in insulation.” Again, no blenders involved. This technique usually requires a professional, as it involves blowing loose insulation material into the cavities through strategically placed holes. Imagine your walls getting a fluffy insulation makeover.
Ensuring Proper Coverage and Distribution
Just like spreading peanut butter on toast, you want to make sure the insulation is evenly distributed throughout the wall cavity. You don’t want lumpy walls or cold spots, right?
To ensure proper coverage, the injection process should be done methodically, making sure each area of the wall gets its fair share of insulation goodness. It’s like giving each slice of bread equal attention when spreading that peanut butter (or any other preferable spread, we don’t discriminate here).
Proper distribution is critical for the insulation to do its job effectively. The insulation material should fill the entire cavity, leaving no gaps or voids behind. Think of it as making sure every nook and cranny of your toast is covered with a delightful layer of peanut butter.
Ensuring Quality and Effectiveness
Checking for Proper Insulation Thickness
Just like checking the thickness of frosting on a cake, you need to ensure that your cavity wall insulation is thick enough to provide the desired results. Insulation thickness is crucial for achieving optimal energy efficiency and comfort in your home.
Different insulation materials have different recommended thickness requirements, so it’s essential to consult the manufacturer’s guidelines or seek professional advice to ensure you get it right. By checking the insulation thickness, you can make sure your walls are not only cosy but also effective at keeping your home comfortable.
Conducting Post-Installation Inspections
Once the retro insulation is in place and you’ve celebrated the successful completion of the project with a victory dance, it’s time to take a step back and conduct some post-installation inspections. You want to make sure everything is as it should be and that the insulation has been installed correctly.
Inspect the walls visually to ensure there are no obvious signs of insulation problems, such as gaps or bulges. Additionally, it’s a good idea to monitor your home’s energy usage over time to see if it has improved. It’s like checking the scale after a few weeks of eating healthier – except there’s no need to stress about gaining weight here.
Addressing any Inadequacies or Deficiencies
In the unfortunate event that you discover any inadequacies or deficiencies in your retro insulation project, don’t panic. Remember, nobody’s perfect, and sometimes even the best-laid plans need a little adjustment. So, take a deep breath and think about the best solution.
If you find areas where the insulation is lacking, you may need to add more material to fill the gaps or consult a professional to assess the situation. The key is to address any issues promptly to ensure your retro insulation project lives up to its full potential. It’s like adding extra toppings to your pizza if you find it a bit bare – you always have the power to improve, and in this case, insulate.
Potential Challenges and Solutions
Dealing with Obstacles during Installation
During the retro insulation process, you might come across obstacles that make the task more challenging than anticipated. These obstacles can include obstructions within the wall cavity, such as pipes or electrical wires, or tricky access points that require extra creativity to manoeuvre around.
When facing these challenges, it’s crucial to approach them with a problem-solving mindset. Consult with professionals who have experience in dealing with such obstacles and explore alternative techniques or equipment that can help you navigate the wall cavities. You’ll feel like an insulation superhero overcoming those hurdles and turning your walls into cosy fortresses.
Addressing Moisture and Condensation Concerns
Moisture and condensation can be real party poopers when it comes to cavity wall insulation. Nobody likes a damp and chilly atmosphere, right? That’s why it’s important to address any moisture-related concerns before and during the retro insulation process.
To prevent moisture issues, ensure your walls are in good condition and free from any water leaks or dampness. It’s also vital to choose an insulation material that is moisture-resistant or has proper vapor control properties. Moisture barriers or waterproof coatings may be necessary in certain situations.
By addressing moisture and condensation concerns, you can keep your walls dry and cozy, creating a comfortable indoor environment. It’s like ensuring your party has no unexpected leaky roofs or soggy chips – no one wants that kind of damp disappointment.
Managing Thermal Bridging and Air Leakage
Thermal bridging and air leakage are like sneaky drafts that can undermine the effectiveness of your retro insulation efforts. They are the party crashers of cosy homes. Thermal bridging occurs when the insulation doesn’t cover all areas of your walls, creating paths for heat to escape. Air leakage, on the other hand, allows drafts to infiltrate your home, making it harder to maintain a comfortable temperature.
To combat these pesky intruders, it’s essential to ensure comprehensive insulation coverage and address any gaps or openings in your walls. This may involve identifying and sealing cracks, holes, or other potential air leakage points. By managing thermal bridging and air leakage, you’ll keep your walls cozy and create an unwelcome environment for those sneaky drafts. You’ll be the bouncer at the door of your home, only allowing in the warm and comfortable vibes.
Conclusion
In conclusion, retro insulating a cavity wall is a practical and cost-effective solution for improving energy efficiency and reducing heat loss in existing buildings. By understanding the process, assessing suitability, and selecting the right insulation material, homeowners and professionals can successfully upgrade their properties. With proper installation and quality control measures in place, retro insulated cavity walls can provide long-term benefits such as reduced heating costs, enhanced thermal comfort, and a positive impact on the environment. By taking these steps, we can contribute to a more sustainable future while enjoying the benefits of an energy-efficient home.
FAQs: Retro insulate a cavity wall
Retro insulation of a cavity wall is generally suitable for most types of buildings with existing wall cavities. However, it is important to assess the condition, suitability, and construction of the wall before proceeding with the insulation. Consultation with a professional insulation contractor or building expert is recommended to determine the feasibility of retro insulation for your specific property.
While it is possible to install cavity wall insulation yourself, it is highly recommended to hire a professional insulation contractor for the best results. Professional contractors have the expertise, equipment, and knowledge to assess the cavity, choose the appropriate materials, and ensure proper installation. Additionally, they can identify and address any potential challenges or issues during the process, ensuring a successful and effective insulation retrofit.
Retro insulating a cavity wall carries a few potential risks and issues that need to be addressed. These may include moisture penetration, inadequate insulation coverage, thermal bridging, or air leakage. However, by conducting a proper assessment, selecting suitable materials, and following recommended installation techniques, these risks can be minimized or eliminated. It is crucial to work with an experienced professional who can identify and mitigate these potential issues during the retrofit process.
The duration of the retro insulation process for a cavity wall depends on various factors, including the size of the property, accessibility of the wall cavities, and the complexity of any existing issues. On average, the installation process can take anywhere from a few hours to a couple of days. However, it is essential to consult with the insulation contractor to get a more accurate estimate based on the specific requirements of your property.
Ready to discuss your regeneration project and how NXTGEN Futures Ltd can elevate it with expert retrofit? Contact us today!
Latest Retrofit Posts
- What a retrofit-first approach offers the UKRetrofitting is like giving your home a makeover to make it more energy-efficient, comfortable, and healthy. The retrofit-first approach prioritizes upgrading existing buildings over new construction to tackle climate change and improve living conditions. Definition of Retrofitting Retrofitting involves making… Read more: What a retrofit-first approach offers the UK
- What is retrofitting in construction?Retrofitting in construction is a crucial process that involves upgrading existing buildings or structures to meet modern standards of safety, energy efficiency, and functionality. This blog post explores the concept of retrofitting, its importance, various techniques used in the industry,… Read more: What is retrofitting in construction?
- What happens to a building during retrofitting?Building retrofitting is a vital process that involves making significant modifications and improvements to existing structures to enhance their efficiency, functionality, and sustainability. In this blog post, we will delve into the intricate workings of building retrofitting, exploring the various… Read more: What happens to a building during retrofitting?
- UK Government Retrofit Scheme: Making Energy Efficiency Cool AgainIntroduction to the UK Government Retrofit Scheme Background of the Retrofit Scheme Picture this: you’re sitting at home, snuggled up in your favourite blanket, enjoying a cup of tea, when suddenly you feel a draft. Not cool, right? Well, that’s… Read more: UK Government Retrofit Scheme: Making Energy Efficiency Cool Again
- What does retrofit include?Retrofitting has become a critical aspect of sustainable building practices, offering opportunities to enhance energy efficiency, improve structural integrity, and prolong the lifespan of existing structures. This blog post delves into the comprehensive process of retrofitting, from the initial assessment… Read more: What does retrofit include?
- Is retrofit insulation worth it?Retrofit insulation refers to the process of adding insulation to existing buildings in order to improve energy efficiency, reduce utility bills, and enhance overall comfort. As energy costs continue to rise and environmental concerns become more prominent, retrofit insulation has… Read more: Is retrofit insulation worth it?
- How do you retro insulate a cavity wall?Cavity wall insulation is a crucial step towards enhancing the energy efficiency and thermal performance of a building. While many newly constructed buildings incorporate cavity wall insulation, older properties often lack this essential feature, resulting in heat loss, energy wastage,… Read more: How do you retro insulate a cavity wall?
- Is retrofit insulation worth it?When it comes to optimizing energy efficiency in buildings, retrofit insulation has emerged as a valuable solution. Retrofitting insulation involves upgrading or adding insulation to existing structures, offering a range of benefits such as improved energy efficiency, enhanced comfort, and… Read more: Is retrofit insulation worth it?

